There’s a certain potato chip company that touts their product as saying that it’s impossible to eat just one. I’m going to up the ante a bit with these Homemade Spicy Chips and say that, for these chips, it’s impossible to not eat the whole bowl.
That’s why I call them my Whole Bowl Chips. However many chips are in the bowl… that’s how many you will eat! Leftovers are almost impossible to imagine.
Read on and bust out the fryer (or just a large pot) and make some delicious homemade chips for your next party!
How to Slice Potatoes for Chips
I’ll try to break this too you as gently as possible. If you really want to make homemade chips, you need to pick up a mandolin slicer.
Can you slice hundreds of paper-thin slices of potatoes with a good knife? Maybe. But you will hate your life and unless you have sick knife skills, you’ll probably screw it up.
With a slicer though, you can slice a few pounds of potatoes in about a minute.
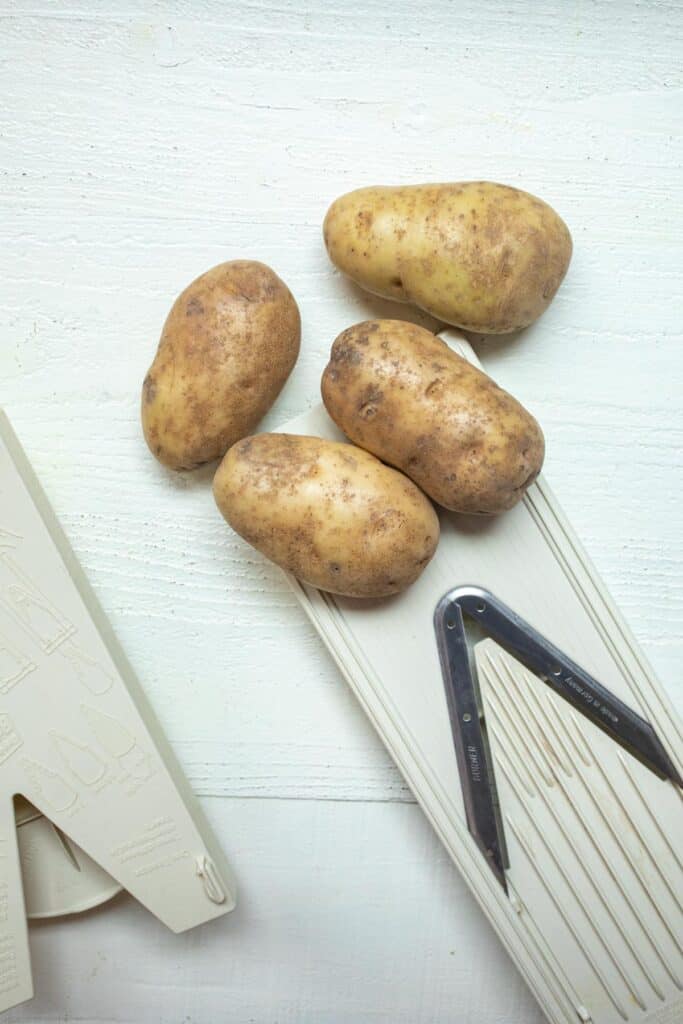
Just remember to use the safety guard so you don’t give yourself a mandolin manicure.
Possibly more important than how you slice the chips is what you do right after you slice them. Potatoes, especially Russet potatoes, have a lot of starch on them and for best chips you need to rinse the starch off. It’s an annoying step, but important!
I rinse them in cold water. I think this is important because it washes some of the starch off the potatoes which will help them not stick together when they are frying.
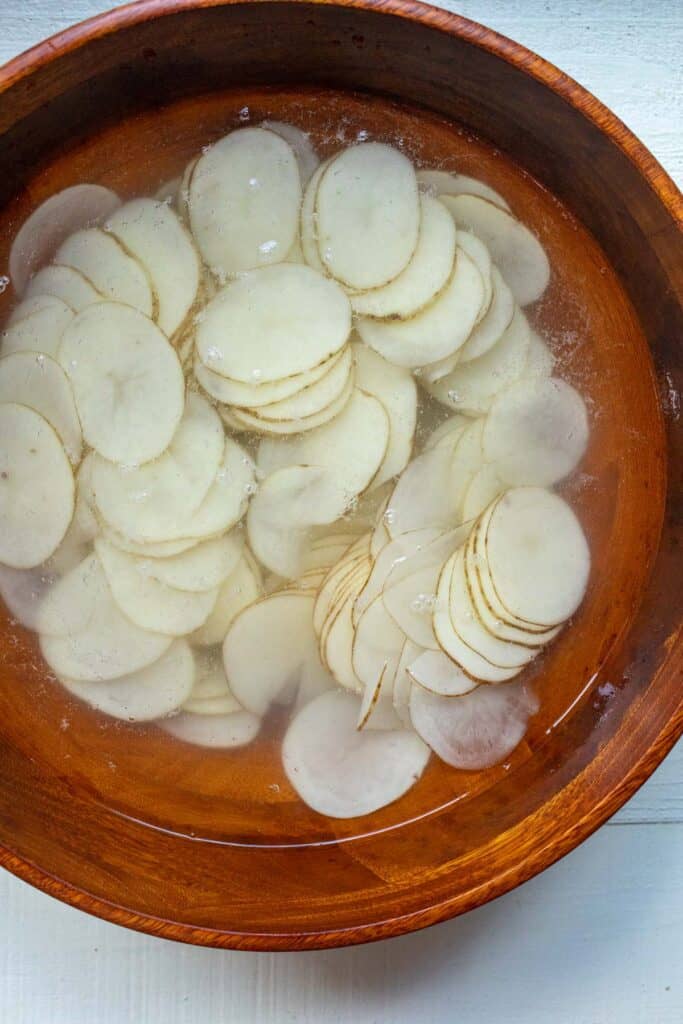
Of course, now your potatoes are wet so you also need to dry them a bit before frying.
They don’t have to be perfect, but I just work in batches and pull a few handfuls out of the water and let them drain on a paper towel before moving them to the fryer.
If they are too wet, your oil will splatter all over the place and it will take longer to get them crispy. Also, it’s dangerous to put something super wet into HOT oil.
Can’t Stop Spicy Seasoning
Anything fried is pretty addictive, especially potatoes.
But this seasoning moves them out of the realm of addictive and moves them into the realm of narcotic.
The seasoning mix has the perfect mix of spicy and sweet that will make you want the whole bowl and don’t be surprised if you want to actually lick the bowl.
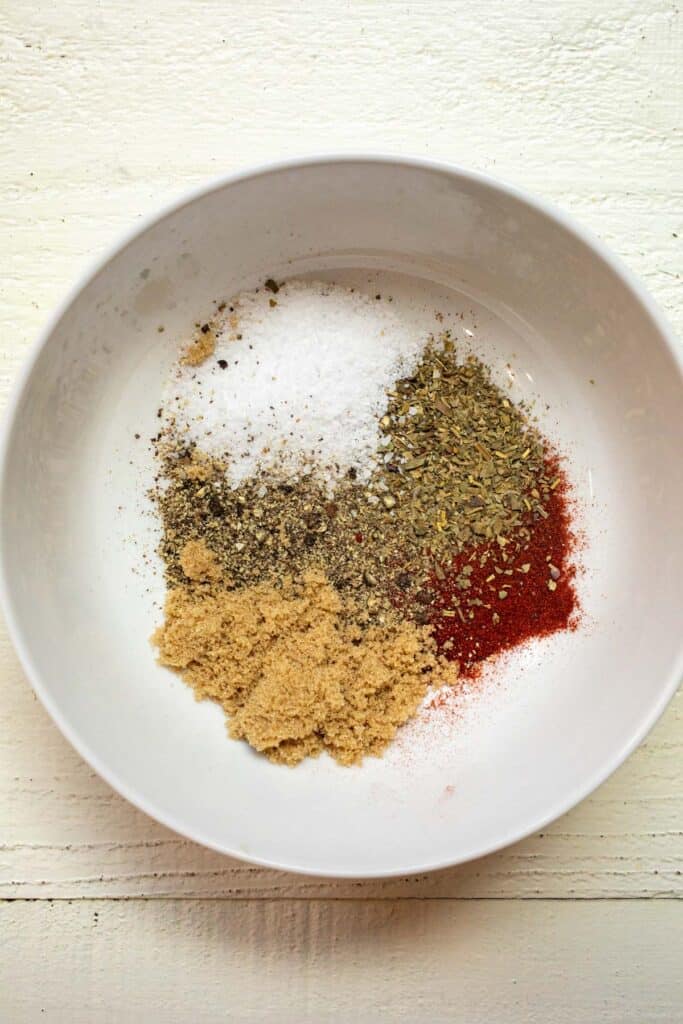
You might not need all the seasoning for one batch of chips, but you can just keep the extra in a plastic bag. It’s great on popcorn also. If you don’t have dried thyme, you can use Italian seasoning. The key parts are the brown sugar and the paprika. You can use spicy paprika or add a pinch of cayenne for even more kick.
How to Fry the Chips
Once you have your taters sliced, rinsed, and dried, there’s only one thing left to do: Fry them!
Here are my chip frying tips:
- Make sure you have a large pot and at least two quarts of oil. If you use less than that, your oil will lose a lot of its heat and it’ll take forever to re-heat it in between batches.
- Please, use a deep fry thermometer. Ideally your oil will hover around 350 degrees. More ideally, you won’t burn your kitchen down.
- Work in small batches. You want kind of a single layer of chips on the oil.
- The chips will be done when they are no longer bubbling. That means the water is mostly evaporated and they will be pretty crispy once they cool. This will take around 6-8 minutes, but could take as long as 10 minutes depending on how many chips you are frying.
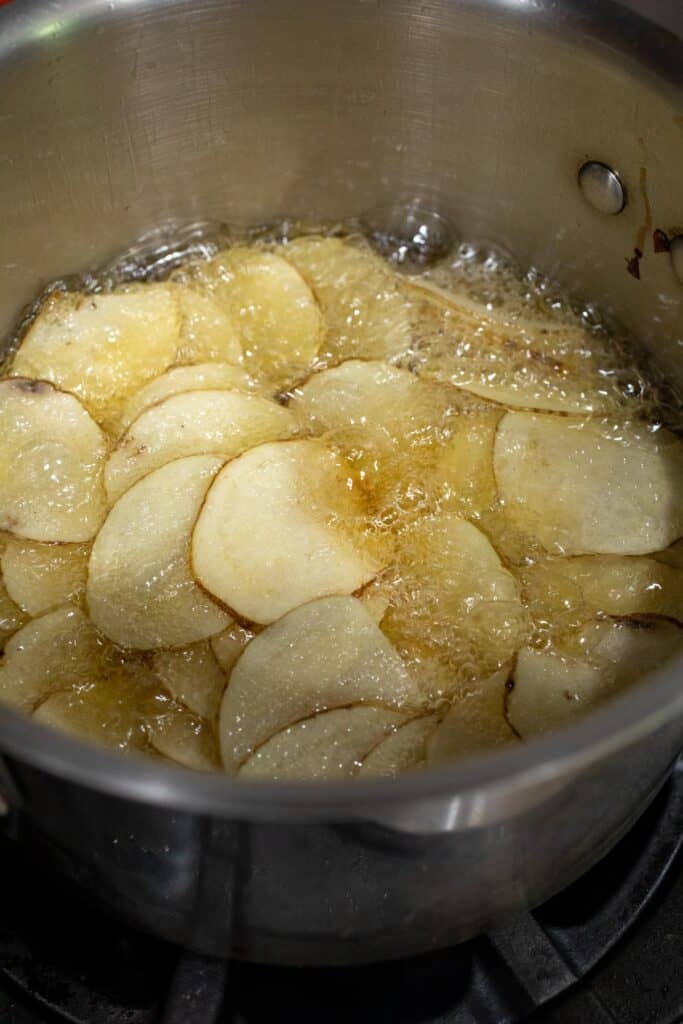
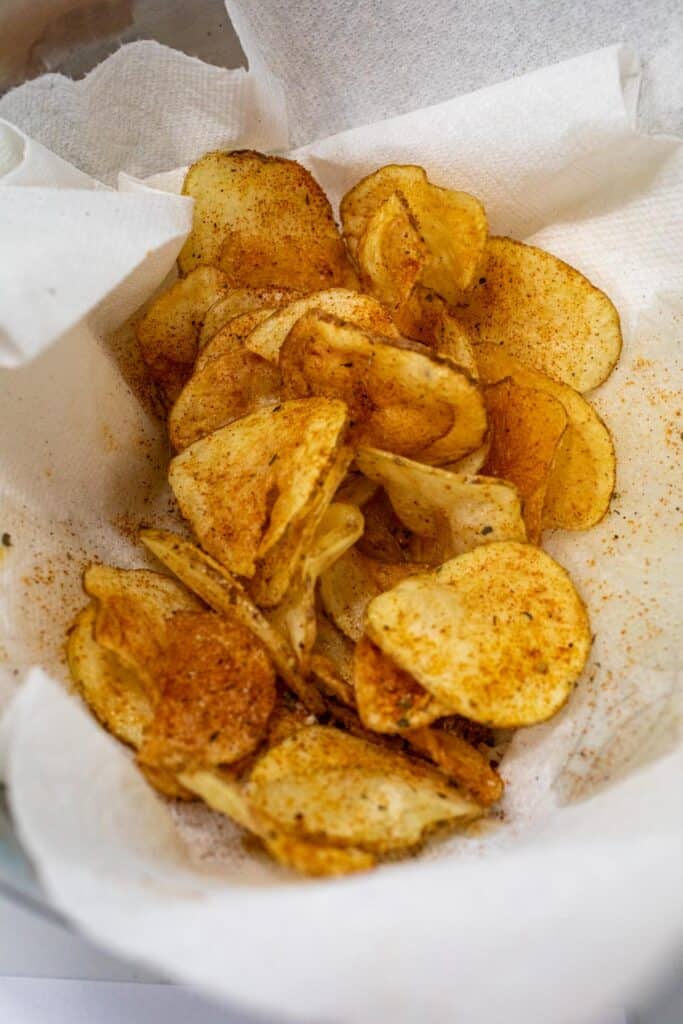
Once the chips are done, scoop them out and let them drain in a bowl with a paper towel.
Season them immediately with a few big pinches of the seasoning.
A Word on Air Fryers
Okay. So can you use an air fryer for these chips? Yes. Sure. But it’s going to take a long time. You will have to lay them out in an even layer in the tiny air fryer basket and fry them in a million batches, spraying them with oil so they get crispy.
Frankly, even though I have an air fryer, I find that frying chips traditionally is the way to go here.
How to Store the Chips
This was my first of many chips.
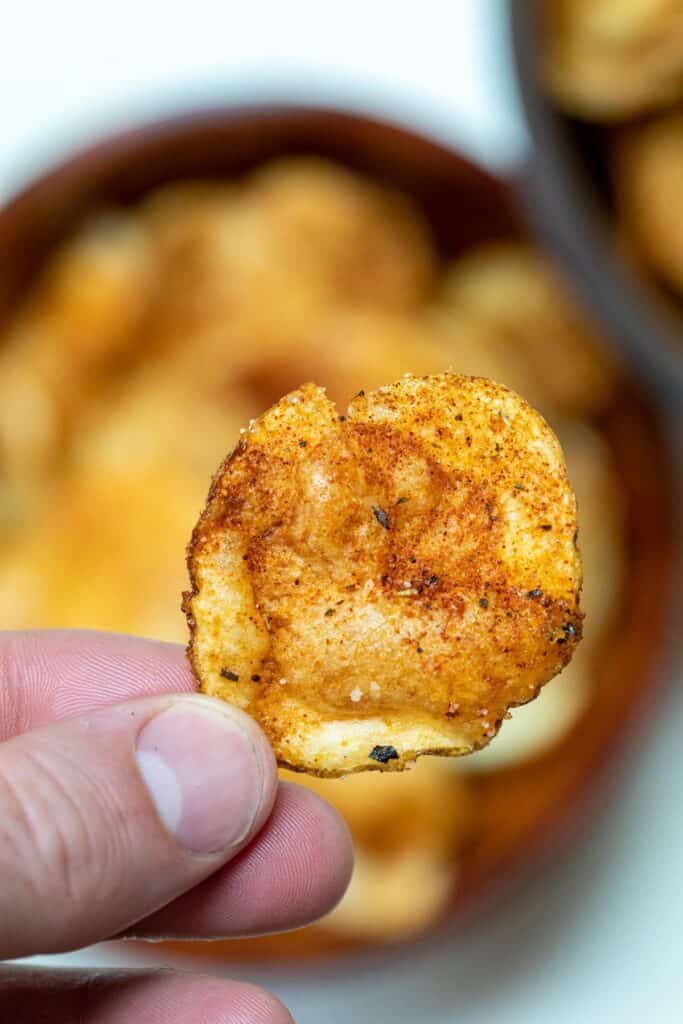
If you aren’t serving these right away, it’s best to store them at room temperature, uncovered. If you put them in a bag or something they will make condensation and get a bit soggy. Eat them within a day or two of frying them, which I guarantee you will not be a problem.
Seasoning Alternatives for Potato Chips
If for some reason you don’t want to try my amazing seasoning, there are other options!
- Try my bacon dust recipe on the chips.
- Keep it simple with salt and pepper or a dash of vinegar (vinegar powder is best).
- Use powdered ranch seasoning for a ranch version
- Use some taco seasoning for a Tex-Mex potato chip
Small Batch Potato Chips
Equipment
Ingredients
- 3 pounds Russet potatoes, scrubbed and sliced thinly
- 1 quarter Frying oil, peanut or canola is good
- Salt
- Pepper
- Chili Powder
Instructions
- Slice the potatoes (leave the skin on) with your mondoline slicer. You can use a knife if you have an hour and lots of patience.
- Add the slices to a bowl of cold water to rinse off the starch.
- Heat oil to 350 °F in a large pan. Leave a few inches in the pan. Don’t fill the oil all the way to the top!
- Take a small batch of chips out of the water and drain them on a paper towel to wick off any extra water. They don’t have to be completely dry, but they shouldn’t be dripping wet.
- Add them to the oil slowly. Be sure not to overcrowd your pan.
- Depending on how many chips you cook at a time and your pot, your chips should take somewhere in the 5-6 minute range. When they stop bubbling that means all the water is evaporated and they’re done.
- Move them to a bowl with a paper towel in it to drain again. Season immediately with salt and pepper and chili powder.


Magnolia Zaldivar
Great recipe!!! what about sweetpotato chips? Is it posible to replace the potato?
vanillasugarblog
great job Nick!
they came out perfect!
Chris
I like that spice rub, Nick. I could see using that on a lot of things on the grill, not just chips.
Charlie
The chips look great.
Nice Giveaway!!
Peter
The spice mix in the printed recipe is not the same as what is written narrative. It’d be great if you could provide the spices and amount of each to use. Looks like a great recipe to try. Thanks.