This post is brought to you by Lincoln Financial Group®. All opinions are 100% mine. Lincoln Financial Group would like you to enjoy the holidays!
This is the last Thanksgiving that Betsy and I will have without a baby. As you might guess, that has made me think more about the dishes I’m making this year. Not only because I have a ravenously hungry wife to feed, but also because I feel like I’m setting the tone now for hopefully years of happy holidays.
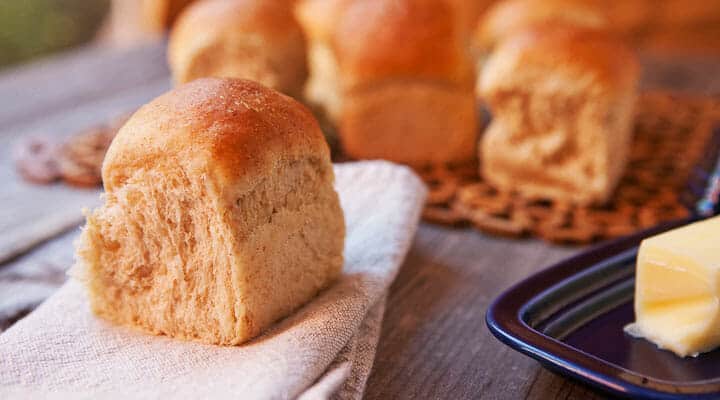
Growing up, I can’t think of a holiday year where some version of these yeast rolls from scratch wasn’t on the table. Even if shortcuts were taken on other dishes, these rolls were always made from scratch.
To be honest, I still feel like I’ve never been able to completely master these rolls like my grandmother. As seemed to be the trend though (before the days of food blogs), she took her secrets with her!
This recipe is the closest I’ve come though and leaves you with a roll that you can eat alone, with a pat of butter or some jam, or use it to sop up leftover gravy.
I look forward to sharing these yeast rolls from scratch with family and friends every year.
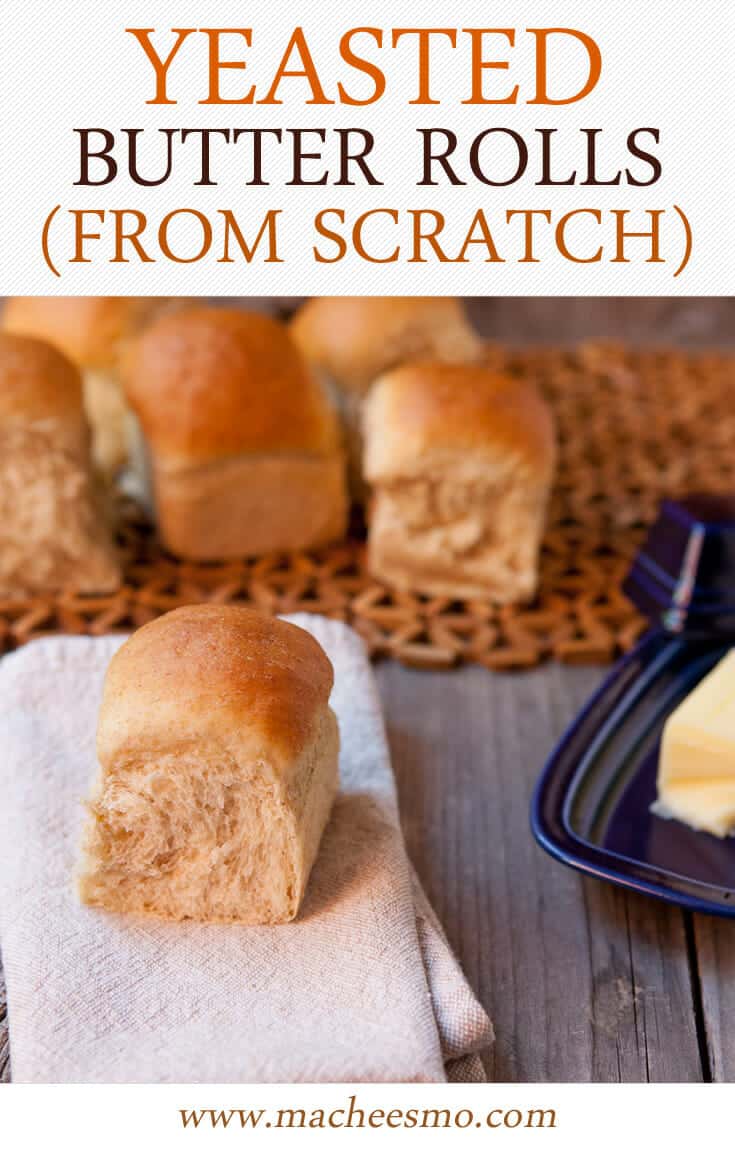
Buttered Yeast Rolls
Equipment
Ingredients
- 2 heaping Tablespoons active dry yeast, or instant
- ½ cup sugar
- ½ cup honey
- 3 Cups warm water
- 3 large eggs
- ¾ cups unsalted butter, melted and cooled
- 6 cups all-purpose flour, plus extra
- 2 cups whole wheat flour
- 4 teaspoons kosher salt
- Unsalted butter, softened for shaping rolls and melted butter for brushing rolls
Instructions
- Add water, yeast, sugar, and honey to a mixing bowl and stir together. Let sit for a few minutes until yeast starts to foam.
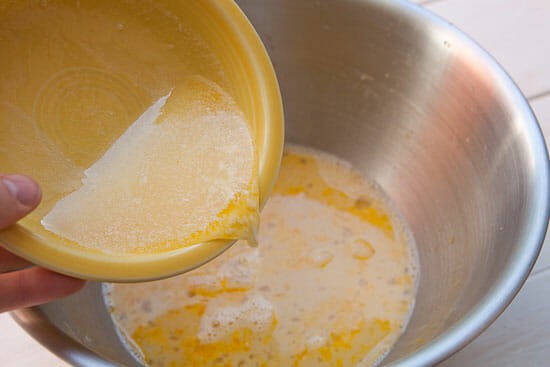
- Whisk in eggs, melted butter and salt and stir to combine. Make sure everything is dissolved.
- Add all-purpose flour and whole wheat flour in two-cup batches, stirring between each batch.
- If you’re using a stand mixer, use a dough hook to mix for 5 minutes on medium speed. If dough is really sticky, add more all-purpose flour in 1/4-cup increments. The dough might stick to the sides of the bowl a bit, which is fine.
- If you’re using hands, add flour until dough is together, then heavily dust the dough with flour and use your hands to work in the bowl. It should be a soft and slightly sticky dough so it will be important to keep it floured well so you can knead it. Knead it for 4-5 minutes until the dough is a smooth consistency.
- Transfer dough to a lightly buttered bowl and cover loosely. Let the dough rise until it doubles, about 2 hours.
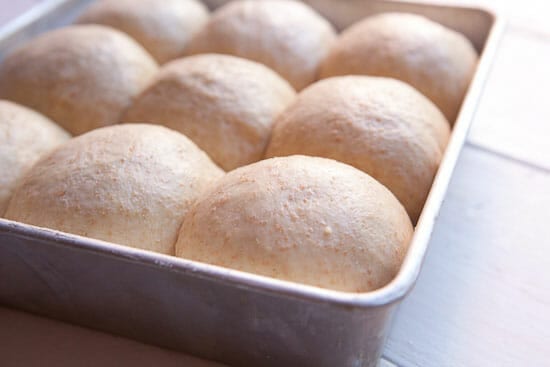
- When you’re ready to make the rolls, rub some softened butter on your hands and shape rolls into 2 1/2 inch balls (about 4 ounces). Add rolls to a half sheet pan. Grease or butter the sheet pan so the rolls don’t stick while baking.
- Cover the shaped rolls with a warm damp cloth and let rise a second time for 30 minutes.
- Bake rolls at 350 degrees F. until they are golden brown, about 18-20 minutes. Make sure the rolls in the middle are cooked through.
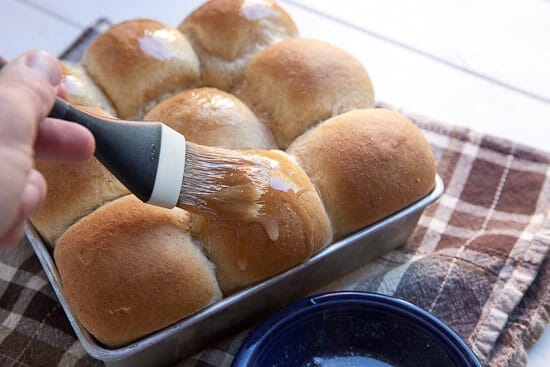
- Let cool for a minute and then brush rolls with melted butter.
- Leftover rolls will store fine in an airtight container for a few days.
Nutrition
Did you make this recipe?
Yeast Rolls From Scratch
Starting the Rolls
These rolls are enriched with eggs and sweetened with honey. They have a lot of yeast in them as well which gives them a very specific flavor and also makes it pretty reasonable to make these in a few hours since they rise really quickly.
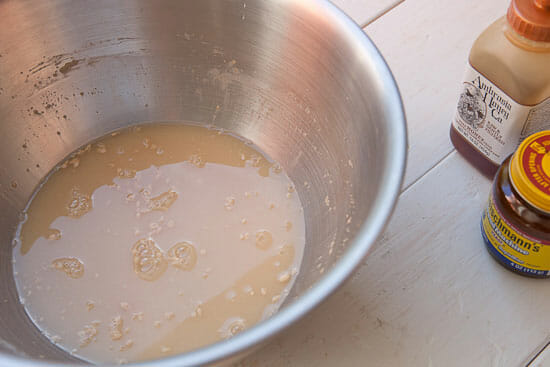
Start by stirring the yeast together with the warm water, sugar, and honey and let that bubble for a bit.
When that mixture is foaming, mix in the eggs and melted (cooled) butter.
Now you can start adding the flour. I like to use a mix of whole wheat flour and all-purpose flour. Mix the flour into the liquid base in 2 cup batches. You can either use a stand mixer with a dough hook or just your clean hands!
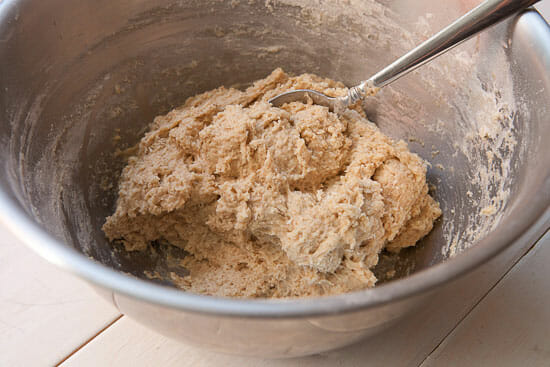
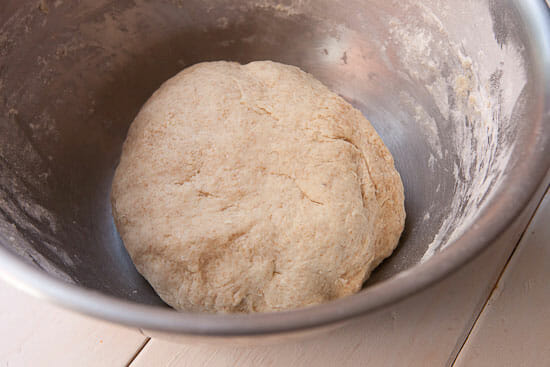
The dough for these yeast rolls from scratch will be pretty sticky so if you’re using your hands, you’ll need to flour the dough liberally so you can knead it.
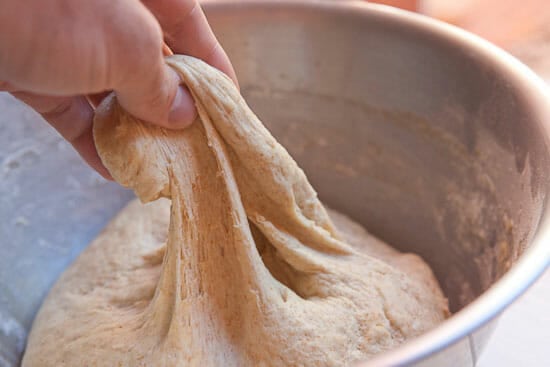
Just a few minutes of kneading or mixing will do the trick. Then let the dough rise until it doubles in size (maybe two hours).
Shaping and Baking the Yeast Rolls from Scratch
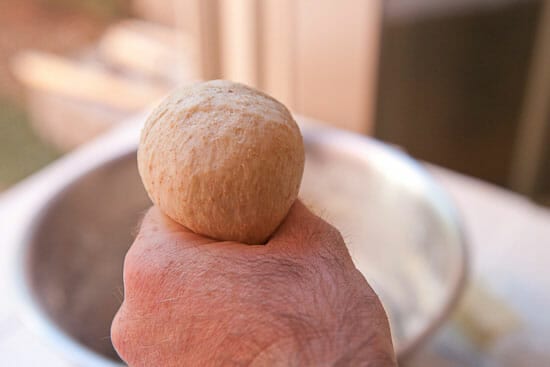
I like to use softened butter to shape my rolls. I recommending weighing out about a 4 ounce ball of dough and then shaping that ball into a tight, round roll using your hands.
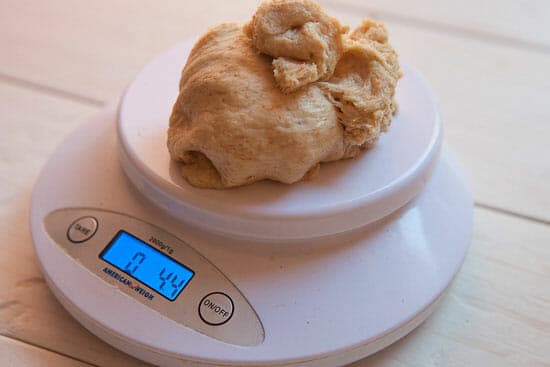
You should be able to get about 20-24 rolls out of this recipe. Don’t worry. People will eat them!
Place the shaped rolls in a baking dish greased with butter and let them rise a second time for 30 minutes.
Then bake the rolls at 350 degrees F. for about 18-20 minutes. Be sure to check on the center rolls and make sure they are cooked through. Don’t worry if you need to add on a few minutes. The rolls on the outside will still be really tender and fluffy.
When the rolls come out the only and best way to finish them is with a good brushing of butter!
If you have leftover rolls, you can keep them at room temperature in an airtight container for a few days.
If your house is like my house, people who pass by the rolls will snag one and any leftovers will be gone in a day or two.
Kiara
That Give Thanks link is broken :)
Nick
Oopsy! Fat thumbs typing… fixed now. ;)
Jared
Nothing better than rolls like this – last year tried the Williams-Sonoma Parker House Roll mix (I know I know) and they were just not the same as mom’s. Determined to try these this year – thanks so much for the recipe. Happy Holidays and best wishes for a safe arrival of your new addition.
Matt
I just made a batch of ~60 rolls (2.5 oz/roll); only used yeast, flour, water, butter, eggs, and a little sugar and salt. They turned out amazing. I did the egg wash on top, and they’re so beautiful.
I like the idea of honey. But if they’re yeast rolls, they’ll be good :)
Jessica @ Golden Brown and Delicious
these look great! I’ve yet to try and make yeast rolls from scratch, but this looks like a great recipe to start from. thanks for sharing!
Helene Lopes
Your grandmother would be proud:)
Carol Tice | Make a Living Writing
This recipe is very similar to the one I use for challah now — kind of burned out on all-white flour and I slip in a cup of whole wheat. Gives it a lot more flavor!
Chris
Glad that you’ve come close to replicating them. I have found that the key to really enjoying rolls is to let someone else make them – namely my wife. I just don’t like messing with yeast although I love yeast rolls.