
The story goes like this: A popular lunch place in the Rockies called The Denver Cafe (ironically not in Denver) was closing their doors after a huge lunch shift one day. They were about to go home when a group of tired and hungry skiers knocked on the windows, begging for food. Well, the chef wasn’t going to just let them starve so he re-opened his doors. The only problem: He was pretty much out of food. The only thing he had was some eggs, peppers, ham, and cheese.
So he whipped it all together in an omelet and the rest is history.
Ok. So I made that up, but I imagine that’s how the Denver omelet probably started. In reality I have no idea who came up with it or why it’s named after The Mile High City. Whatever. I know it’s delicious and what else do you need to know?!
If there’s one thing that an aspiring home cook should learn how to make, it’s an omelet. They are very versatile and once you get the hang of them, you can feed a crowd very quickly. I’ve made a griddle omelet before on Macheesmo which is a bit of a different creature. This is a more traditional omelet and has some of my favorite fillings.
The Denver Omelet

Equipment
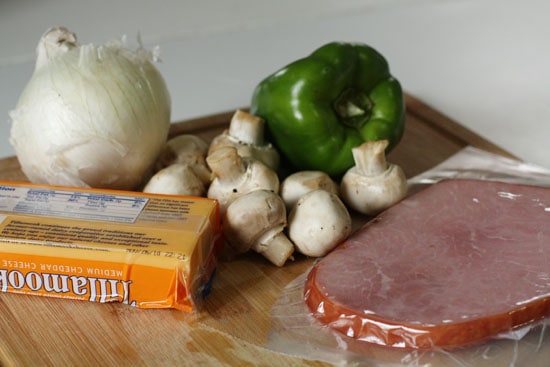
Ingredients
- 4 large eggs, mixed with a dash of milk. Keep them separate (2 and 2) so you end up with even omelets
- ½ green pepper, diced
- 2 ounces thick cut ham, diced
- ¼ white onion, diced
- A few button mushrooms, diced
- 4 ounces cheddar cheese
- Butter or clarified butter for cooking
Instructions
- Prepare and chop all your veggies and ham. Grate the cheese.
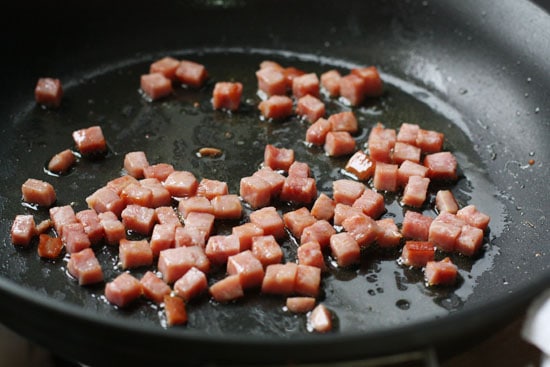
- Add the diced ham to a pan with a drizzle of oil and cook until it’s lightly browned, about 4-5 minutes over medium-high heat.
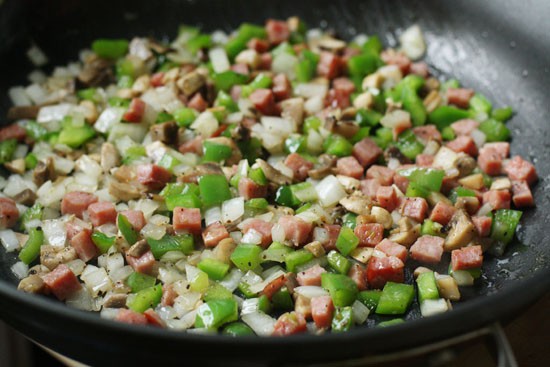
- Add the other veggies for the filling and cook for another 1-2 minutes just to get them slightly soft and warm.
- Add a teaspoon of butter or clarified butter to your omelet pan over medium-high heat. Once it’s melted add your eggs (2 per omelet).
- The eggs will start cooking quickly. Use a flat spatula to gently move the cooked eggs to the center of the pan and tilt the pan to let the uncooked eggs run outside and cook. It won’t take long to have your eggs mostly cooked.
- Add filling and grated cheese to one half of your omelet and gently fold the eggs over.
- Add a few drops of water to your pan and slide a large plate over the top of the omelet pan. This will steam your omelet which will finish cooking it and also melt the cheese perfectly. Let it steam for 30-45 seconds.
- Slide the omelet onto a plate and serve immediately.
Nutrition
Did you make this recipe?
- Other Denver recipes? How about the Denver burrito!
Making the omelet
I’m going to do my best to describe this in photos in case you’ve never made an omelet before, but this is reason number 47 why I think I need to start incorporating the occasional video on Macheesmo. There’s some subtle things that happen during the omelet making that are tough to describe with photos.
Before we get there though, the filling is pretty straightforward. And yes, I stuff all of this into two omelets, but I like mine really stuffed. Basically, I just shoot for equal parts ham, green peppers, onions, and mushrooms.

I’m a big fan of pre-cooking my filling for just a few minutes to get it softened just a tiny bit. You don’t want the veggies soggy, but you don’t want them raw either.
Start with a tablespoon of neutral oil in a pan over medium-high heat and add your diced ham. Cook that for a few minutes until it is starting to brown nicely.
Then add all your other veggies. Since everything should be roughly diced the same size it will cook more or less the same. Add a cook pinch of salt and pepper and let your filling cook for another minute or two. Again, don’t over cook these guys.
This is about perfect.
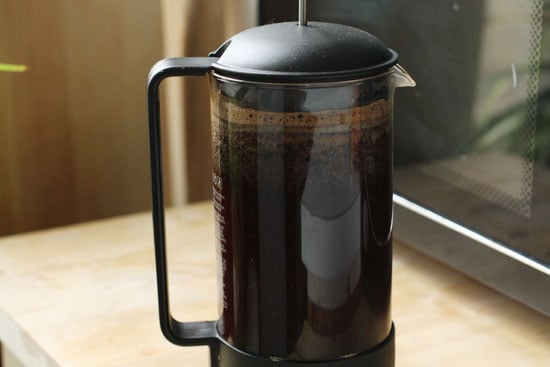
Coffee Break
There’s nothing better than a nice cup of French Press coffee on a weekend while making a good hearty breakfast. Betsy and I have gotten so used to using our French Press I’m not even sure where our drip coffee maker actually is. If you’re in the market for some good coffee, The Bodum French Press is my favorite. I’ve used mine for years now.
Back to Omelets
Ok. Sorry for the detour. Coffee is important though.
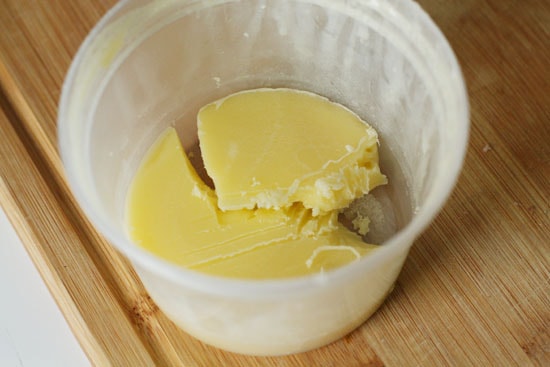
If you happen to have some clarified butter around, it’s perfect for omelets. This is the same clarified butter I made months ago. It keeps for a very long time in the fridge once it’s clarified.
It’s probably not worth making clarified butter for just this dish though so use normal butter if you don’t have some.
Add about 1 Teaspoon of butter or clarified butter to your non-stick omelet pan and put it over medium-high heat. Once the butter is hot, add your whisked eggs! They should start cooking immediately. Using a small spatula, start pushing the cooked eggs to the center and letting the uncooked eggs leak out to the outside of the pan.
You’ll have to tilt the pan as you go to get the liquid egg to move to the outside of the pan.
Get it?
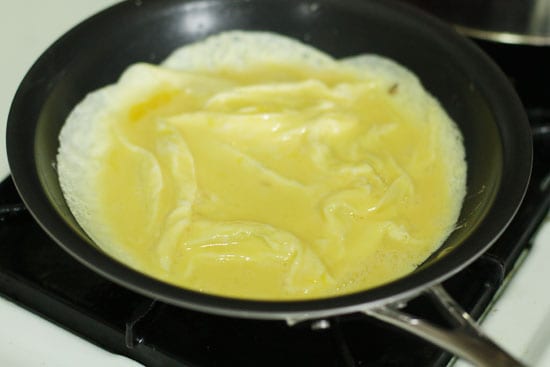
After about 45 seconds, most of your egg should be cooked. There might be a very thin layer of uncooked egg right on top, but that’s good actually. Just leave it for now. It’ll cook as we finish our omelet.
Next, pile on your fillings and cheese! I like to do a layer of cheese, then filling, then more cheese.
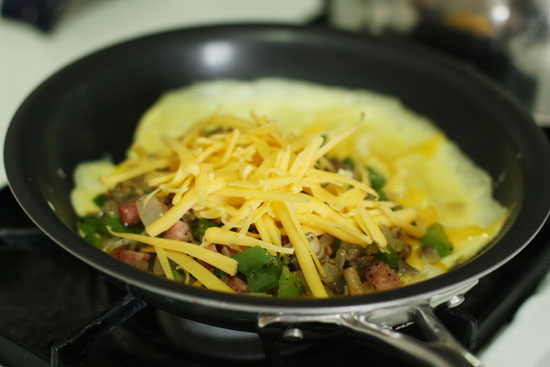
Then attempt to fold the omelet over. It probably won’t cover all the filling. That’s cool though. Just get it as close as you can. Work quickly people.

The Trick
The trick to being able to really stuff an omelet is at the very end you steam it for a few seconds to seal everything together.
I just add a few drops of water to the pan and then cover the pan with a plate that fits. I happen to have one that fits my omelet pan perfectly. (This has the bonus benefit of heating up your plate!)
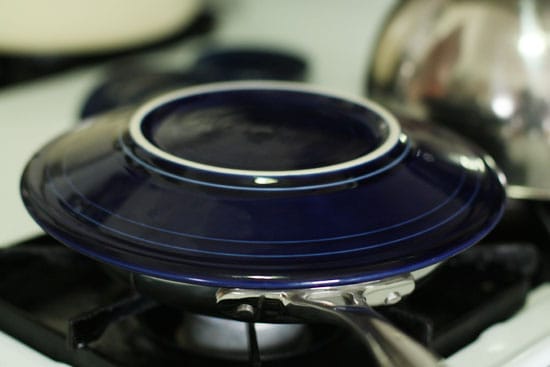
After about 15-20 seconds of steaming your omelet will be cooked and the cheese will be melted and everything will be happy.
To get the omelet out of the pan, don’t try to pick it up. Just move the pan to the plate and gently slide it off the pan and onto the plate. If you’re really good, you can slightly roll the omelet so that the filling is completely covered. Again, this is where video would rock.
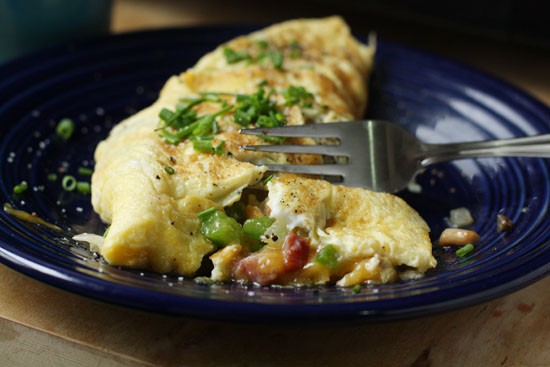
I like to garnish mine with some chives, salt, pepper, and sometimes a dash of hot sauce.
I have no idea who invented this omelet or how it got its name, but I do know that it’s one of my favorite omelet fillings of all time.
What I really want to know is… Did that make sense?? Video??
vanillasugar
that's really harsh dude to post this on a sunday morning so someone (like me) will read this and realize they have NO EGGS. harsh dude, very harsh. :-)
(the container that the clar. butter is in? where can i buy those in bulk?)
Nick
Order a lot of chinese take out soup ;)
Dan
HA! I use leftover 32oz yogurt containers for a lot of stuff
Penelope Tsaldar
Vanilasugar is right Nick! Real smart of you, when I'm out of eggs as well. Your presentation, photo's and instructions are always the best. So much enjoy the clean, crisp simplicity of your writing.
Loved your post and YES! it all made sense !!!!! :-)
Thanks a bunch,
Penelope
Nick
Thanks Penelope!
Dan
I think the real mistake here was not having eggs on a Sunday morning…
Nick – did you make this cause you are moving to CO. ?
Nick
You know I didn't really do it on purpose, but it did cross my mind while making it….
Kelly
Hi Nick, found an interesting article on the possible origins of the Denver Omelet:
http://www.westword.com/2001-03-15/dining/the-bit…
And oddly enough, I had just sat down to eat an omelet when I saw this post! Mine was a little more bare-bones, just tomatoes and hot sauce, but still quite appropriate!
grace
the coffee break is key. :)
The Nervous Cook
Yes it made sense — perfect sense! — but also a resounding yes to video! I have a feeling your videos would be hilarious. And the food would be delicious, of course, but I'm mostly interested in the hilarious.
Nick
I'll see what I can do ;)
Jeanette
The steaming trick is great! I could never figure out how to finish cooking my omelets so that the inside is fully done. Thank you!
Alexandra
I'd never made an omelet before, but with this tutorial mine turned out perfectly! thank you!
zeebuggy
I discovered the Denver Omelet from a ‘Cooking fo Dummies’ book a few years ago. I was just learning to cook as I was living on my own for the first time. I was surprised I could cook something which tasted that good. Haha! I tried it again today since I’ve gotten fed up with fried eggs and bacon everyday for months.
Great site by the way! Hope to use some of your recipes to add some variety to my cooking.
Della
Hey Nick, just wanted to say this recipe is great! Thank you for the wonderful pics at every step, you make it really easy (video not really required) :D
And Macheesmo hahaha great name!
susie
AWESOME SAUCE! THIS NICK WAS A VERY EASY BUT DELICIOUS OMELET! LOVE IT. I REALLY DON’T THINK YOU NEED A VIDEO, YOU EXPLAINED EVERYTHING VERY CLEARLY. THANK YOU!